The Future of digital Art Software

The best living digital canvas for creating fluid beautiful traditional styled artwork. Draw, paint, sketch and design inside of Rebelle 7. Rebelle 7 has now been optimized for use with touch screen tablets and the Tablet Pro Artist Pad. It fully supports SPT (simultaneous pen and touch) for a breathtaking drawing experience that will leave you wanting more. 

Special Discount Price

Want Personal Help with Rebelle?

With over 140 tutorials created. Justice is one of the top experts on Rebelle. Create brushes, set up papers, ask how to do anything in the software. 30 minutes of expert help for $50

Brush and Asset Packs for Rebelle 7

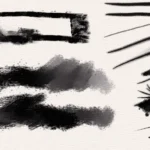
Grungy Gritty Dark Brushes

Justice’s Rebelle 7 Brushes pack : Spirits – Whisps

 – Crawlers and Shadows.     ⬇️ Purchase below 

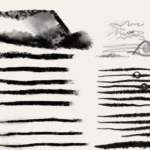
The Brushes pack includes 25 different brushes designed to elicit complex emotions . Watch the video above to learn how to use and install the brushes. These are organic brushes, grungy dark and disjointed brushes.

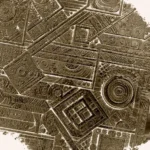
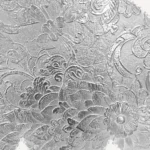
Justice’s Rebelle 7 Structure Brushes pack : Intricate Textures ⬇️ Purchase below 

Justice’s Rebelle 7 Brushes pack 1.0

 ⬇️ Purchase below

Justice’s Rebelle 7 structures pack 1.1

⬇️ Purchase below

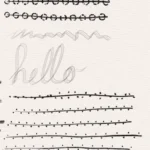
The Brushes pack includes 15 different structure brushes. Watch the video above to learn how to use and install the brushes. These are organic impasto structure brushes, these are mostly acrylics and a few watercolor. Hope you enjoy. Join us in our discord channel to talk with other Rebelle friends.
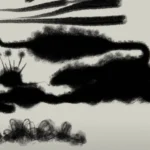
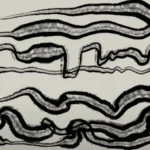
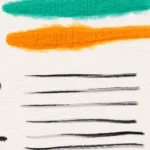
The Brushes pack includes 25 plus different brushes. Watch the video above to learn how to use and install the brushes. These are organic brushes, texture brushes, inks, sketchy pencils and stabilized line brushes. Hope you enjoy. Join us in our discord channel to talk with other Rebelle friends.
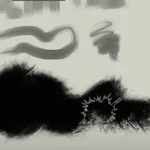
The Brushes pack includes 25 plus different brushes. Watch the video above to learn how to use and install the brushes. These are organic brushes, texture brushes, inks, sketchy pencils and stabilized line brushes. Hope you enjoy. Join us in our discord channel to talk with other Rebelle friends.
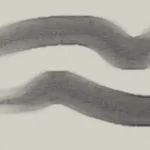
Rebelle 7 tutorials (more coming soon)

Learn the best process for the best art creation

Rebelle 7 New Features: Structures

Remember putting a coin or a leaf under your paper when you were a child. Then slowly and gently using charcoal over the top to create an impression? This structures feature is like the tree to that leaf. It is ultra powerful and allows for some acrylic pour style painting that are just beautiful.

Rebelle 7 New Features: Use Paper Heightmaps

Do you wish that your brush would paint on the tops of the paint just like in traditional painting? Rebelle 7 introduces this feature. Painting now feels ultra realistic with how impasto functions while using mixed wet media.

Rebelle 7 New Features: Feature Overview

Rebelle 7 comes with a new tools and here is a short overview of what those tools are.

The full set of Rebelle 6 tutorials (Rebelle 7 coming soon)

New Features Series videos 1-7

Rebelle 6 New Features: Reference Image Guides

Show and transform reference images directly on the canvas. Use additional guidelines and master the positioning and proportions of your next artwork.

Rebelle 6 New Features: Stroke Length

Do you wish that your brush would run out of the paint just like in traditional painting? Rebelle 6 introduces this feature. Bring up the "Length" slider in the Properties panel and adjust the lenght of your strokes according to your liking.

Rebelle 6 New Features: Favorite Brushes

Rebelle 6 comes with a new tool called Favorite Brushes. Select the brushes you like the most and copy them to the Favorites. The changes you make will not affect the original brushes within other tools.

Tutorials!!!

Frequently Asked Questions

Choose – Edit – Preferences – Tablet – Windows 8+ Pointer settings – “Okay” – You may need to restart Rebelle to initialize

Check these options –

  1. Lock transparency – hit “/”
  2. Selection tool is active – hit “Ctrl + D”
  3. Erase mode is enabled – hit “1,2, or 3” 

Hit “tab” on the keyboard to show panels again. If this doesn’t work click “Window” – “reset changes to default”

Most likely the color picker is set to “color mix”. To disable this press “X” or click the icon on the bottom left of the color pallet window. 

Holding “Alt” to color pick and “X” to color mix works best. 

Color mixing will change the color TOWARDS the color you are clicking.

There is currently no blur tool in Rebelle. One can be made easily by adjusting the smudge tool “soft” option. Adjust the brush creator settings “Shape – Opacity” to 1x __03.


I will make this available as a brush shortly


Rebelle

Learn how to use Rebelle 7 with the PDF manual

Rebelle 7 Preset file for Tablet Pro STUDIO - Click Copy and then Paste into Tablet Pro STUDIO Main Panel

Rebelle 6 Brush Creator: Best Practices

In this short video, Justice Frangipane sets you up for a successful brush creation with a few tips. To understand all brush settings and their relations, watch a full Brush Creator series.

Rebelle 6 Brush Creator: Paint

In this video, Justice Frangipane takes a look at the last of the three main sections of Rebelle's Brush Creator. Understand how the paint mode curves work, which rendering options to use, how to control Oils and Acrylics Impasto, or what influence has canvas texture on the paint. 0:00 Mixing 7:43 Rendering 9:08 Oils and Acrylics Impasto 10:08 Canvas Texture Influence

Rebelle 6 Brush Creator: Shape and Grain

In this video, Justice Frangipane explains how to set up four shapes and grains and how to navigate all its settings in the Brush Creator. Including creating a shape or grain, changing texture properties, changing image sequence, or alpha blending. Later, he takes a look at the Angle settings and how it can affect the brush. 0:00 Shape Settings 2:02 Grain Settings 2:57 Texture Properties 4:49 Image Sequence 8:05 Alpha Blending 9:50 Shape Angle 12:15 Shape Border

Rebelle 6 Brush Creator: Shape and Grain - Part 2

Just starting with Rebelle 4? Watch this quick introduction video to the features and tools that will make your painting process fun, easy, and realistically-looking. In this tutorial, Justice Frangipane continues to explain different functionalities in the Shape & Grain section. This time he focuses on the Grain settings and concludes with its relations to shape size. 0:00 Introduction 0:32 Grain Smoothing 0:55 DPI 3:20 Grain Pattern Settings 5:23 Follow, Stretched, Tiled

Rebelle 6 Brush Creator: Stroke - Size, Opacity, Spacing

In this video, Justice Frangipane explains thoroughly the Stroke section of Rebelle's Brush Creator panel. Learn about different Size, Opacity, and Spacing settings that will help you customize the brushes according to your liking. 0:00 Introduction 0:17 Size Settings 6:30 Opacity Settings 8:27 Spacing and Smudge Settings

Rebelle 6 Brush Creator: Pressure Settings

If you are thinking about customizing your brushes, this video tutorial is crucial to watch. Understand how different pressure settings set within your system or software eventually influence the Pressure and its curves in the Brush Creator. 0:00 Introduction 0:36 System Pressure Settings 2:23 Software Pressure Settings 4:45 Paint Mode Pressure Settings 11:07 Brush Pressure Settings

Rebelle 6 Brush Creator: Overview, Save and Delete

Welcome to the Brush Creator series! Justice Frangipane will take you through all settings that will help you adjust existing brushes or create your own in Rebelle 6. This video is a brief overview on how to navigate the Brush Creator panel.

Rebelle 6 Released! What's New?

Rebelle 6 is finally here! Check out the latest version of the award-winning, hyper-realistic painting software with phenomenal oils, watercolors, and other wet and dry media with traditional pigment color mixing. The new version introduces exciting innovative features perfectly complementing extraordinary realistic painting tools. Chapters: 0:00 - Introduction to Rebelle 6 0:50 - Dark and Light UI 1:05 - Liquify Tool 3:42 - Warp Tool 5:21 - Reference Image Guides 7:43 - Grids and Guides 8:35 - Fractal Image Processing 10:50 - Favorite Brushes 12:12 - New Image Filters 13:05 - Color Range 14:05 - Layer Masks 15:32 - Redesigned Brush Creator and New Brushes

Rebelle 6 New Features: Liquify Tool

In this video tutorial, Justice Frangipane introduces Liquify tool. Unlike other painting programs, Liquify is a separate tool in Rebelle. It is available in both editions, while Rebelle 6 uses bilinear processing, Pro edition uses new fractal image processing technology, which ensures keeping all details intact.

All the things you want to know how to do right now

Just starting with Rebelle 4? Watch this quick introduction video to the features and tools that will make your painting process fun, easy, and realistically-looking.

Living Digital Canvas - Visual Settings, Wet & Dry Canvas, Tilt, and Blow Tool

Are you curious to find out how to fully use the potential of Rebelle's living canvas? In this tutorial, Justice explores different canvas textures, visual settings possibilities, and reactions of paint with water. Learn more about how to wet or dry the canvas, blow the paint, or work with a tilt to achieve the most realistic-looking digital paintings.

Paint Modes, Watercolor Transparency Modes, Oil and Acrylic Dirty Brush

Rebelle 4 comes with new paint modes: Paint, Paint & Mix, Paint & Blend, Blend, and Erase. Watch Justice Frangipane explaining the differences and their proper use in your painting process.

The full set of Rebelle 5 tutorials

Brush Creator Series videos 1-7

The full set of Rebelle 4 tutorials

Learn everything you want to know how to do

Install Tablet Pro

Do you want to start using the Artist Pad with Rebelle 4? This quick guide will take you through the setup process. Give yourself about 5 - 10 minutes to get setup and started using the Artist Pad inside Rebelle. click the button below for a full walk through with the Rebelle Artist Pad.

The Brush Creator Series

Brush Creator - Introduction

Welcome to the Rebelle 4 Brush Creator Tutorial Series. In this introduction video, Justice Frangipane explains how to create a new brush, save new settings, and reset to default if you are not satisfied with changes.

Various Brush Settings in Rebelle

Watch this video to find out how to adjust the brush settings in Properties Panel and Brush Creator of Rebelle 4. See how these two panels are connected and what are the differences.

Four Shapes and Grains, Rotation Settings

Learn how to use up to four shapes and grains in Rebelle 4 while creating customed brushes with an endless amount of combinations. Justice also explains what role does the rotation setting play in this process.

Pressure, Opacity, Multiplayer, Maximum

In this video, Justice talks about different Pressure Settings in Rebelle 4 Brush Creator. Learn how to properly adjust the Size, Opacity, Maximum, and Multiplier to create desired brushes.

Shape Settings

Watch this tutorial video to learn more about shape settings in Rebelle, such as max. size, spacing, opacity, and angle. Learn more about specific settings for oils and acrylics, such as max. loading and max. smudging, or how to turn your brushes into glazing or smudging.

Grain and Canvas Settings, Brush Sharing

The last part of the Brush Creator tutorials introduces Grain settings, such as Texture Smoothing and Tiled Texture options, Canvas Texture Strength and Contrast settings, and the option to share your newly created brushes with other Rebelle users.

Rebelle 4 Essential Series

All the things you want to know how to do right now

Just starting with Rebelle 4? Watch this quick introduction video to the features and tools that will make your painting process fun, easy, and realistically-looking.

All the things you want to know how to do right now

Just starting with Rebelle 4? Watch this quick introduction video to the features and tools that will make your painting process fun, easy, and realistically-looking.

living digital canvas thumbnail for rebelle drawing application

Living Digital Canvas - Visual Settings, Wet & Dry Canvas, Tilt, and Blow Tool

Are you curious to find out how to fully use the potential of Rebelle's living canvas? In this tutorial, Justice explores different canvas textures, visual settings possibilities, and reactions of paint with water. Learn more about how to wet or dry the canvas, blow the paint, or work with a tilt to achieve the most realistic-looking digital paintings.

Play Video

Paint Modes, Watercolor Transparency Modes, Oil and Acrylic Dirty Brush

Rebelle 4 comes with new paint modes: Paint, Paint & Mix, Paint & Blend, Blend, and Erase. Watch Justice Frangipane explaining the differences and their proper use in your painting process.

Canvas Size, Image Size, Crop Tool, Papers & Deckled Edges

In this tutorial, Justice will explain how to resize canvas, how to use the crop tool, and what happens when you resize an image using deckled edges paper.

Properties Panel, Brush Panel, Brush Customization and Sharing

Rebelle 4 is introducing many new features and settings in Properties Panel. Watch this tutorial to learn more about brush customization, how to save volumes and paint modes per brush, and how to share brushes with others.

Color Panel, Color sets, Pick Color Tool, Natural Colors

In this tutorial video Justice explains how to use Pick Color Tool, what options do you have when it comes work with Colors sets and Color Panel. Watch till the end to see the new Rebelle 4 natural RYB color mixing in action.

layers panel thumbnail for rebelle drawing application

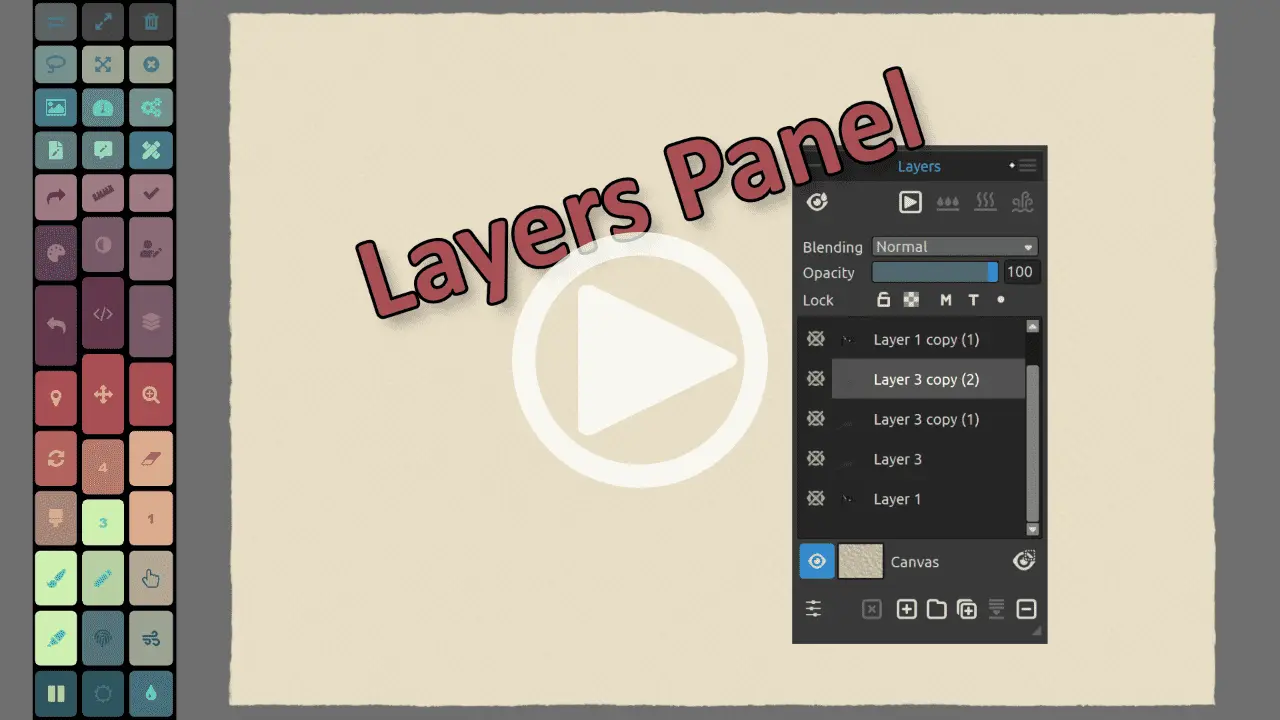
Layers and Layer Groups

Some might prefer to work with just one layer, however a lot of times it is very useful to know how to work with multiple layers. Learn more about the features of the Layers panel and get a better understanding of how masking, tracing, and group layers work.

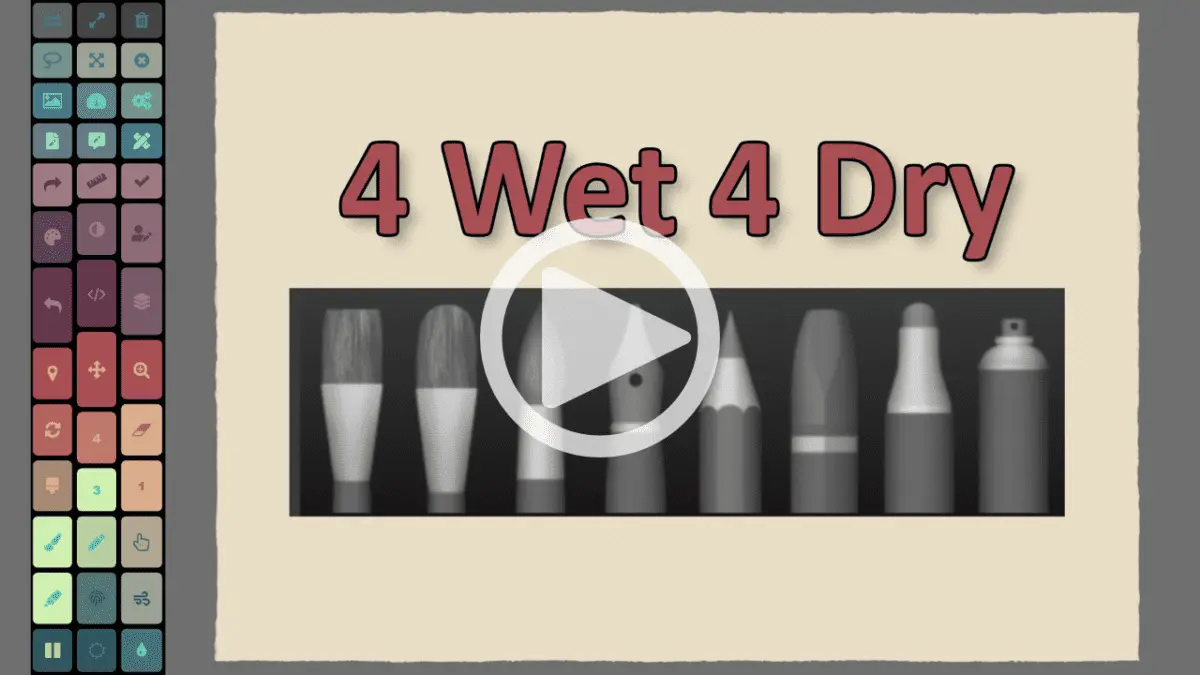
4 wet 4 dry media thumbnail for rebelle drawing application

Wet and Dry Media

In this tutorial, Justice will introduce the wet and dry media in Rebelle 4 - oil, acrylic, watercolor, ink, pencil, pastel, marker, airbrush. He introduces different paint modes and brushes for each medium.

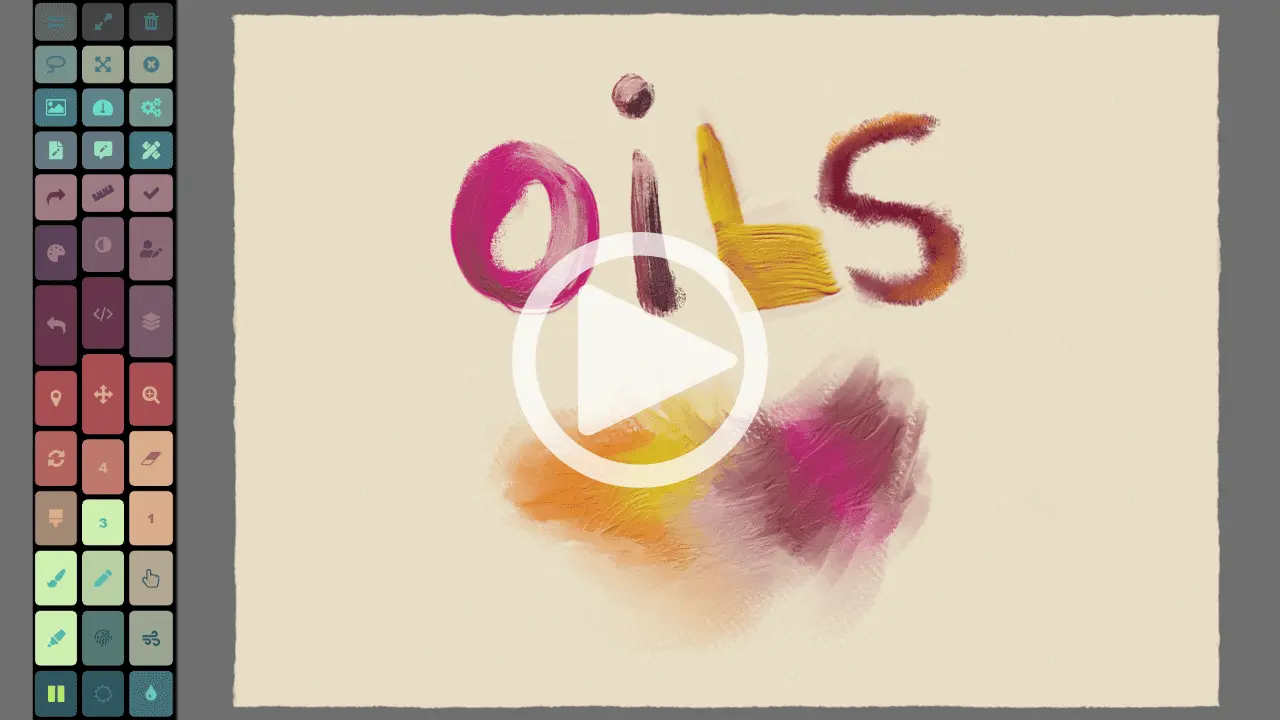
oils thumbnail for rebelle drawing application

Hyper-realistic Oils

In this video, Justice is introducing the power of a new oil engine in Rebelle 4. Learn how to adjust impasto, gloss, oiliness, loading, to give your painting a realistic look. Explore thick and thin brushes and the differences between them.

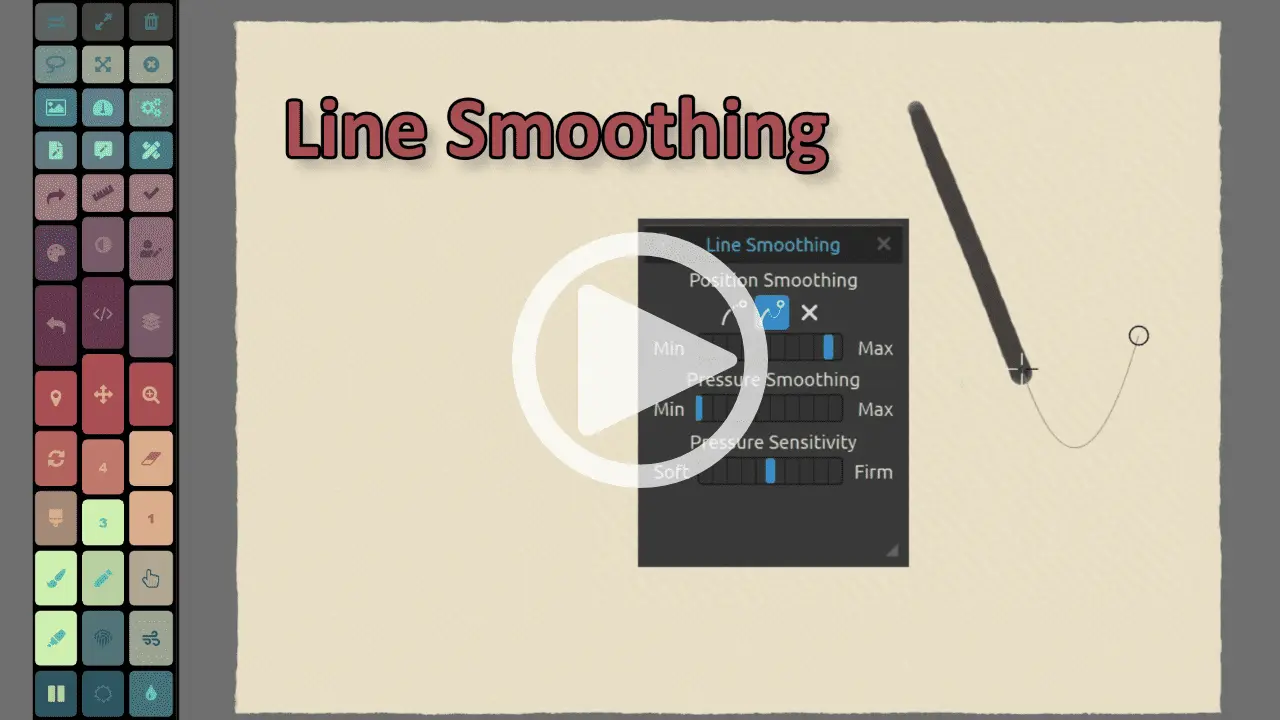
line smoothing thumbnail for rebelle drawing application

Line Smoothing. Pressure Smoothing and Sensitivity

Let's take a look at new options for Line Smoothing in Rebelle - Moving Average, Pulled String. Justice will also explain how Pressure Smoothing and Pressure Sensitivity settings work and when is the right time to use them.

Selection Tool, Transform Tool

In this video, we'll learn how to handle Free-hand, Polygon, Ellipse & Rectangle Selection Modes, Magic Wand, and Transform Tool - it's quick and easy!

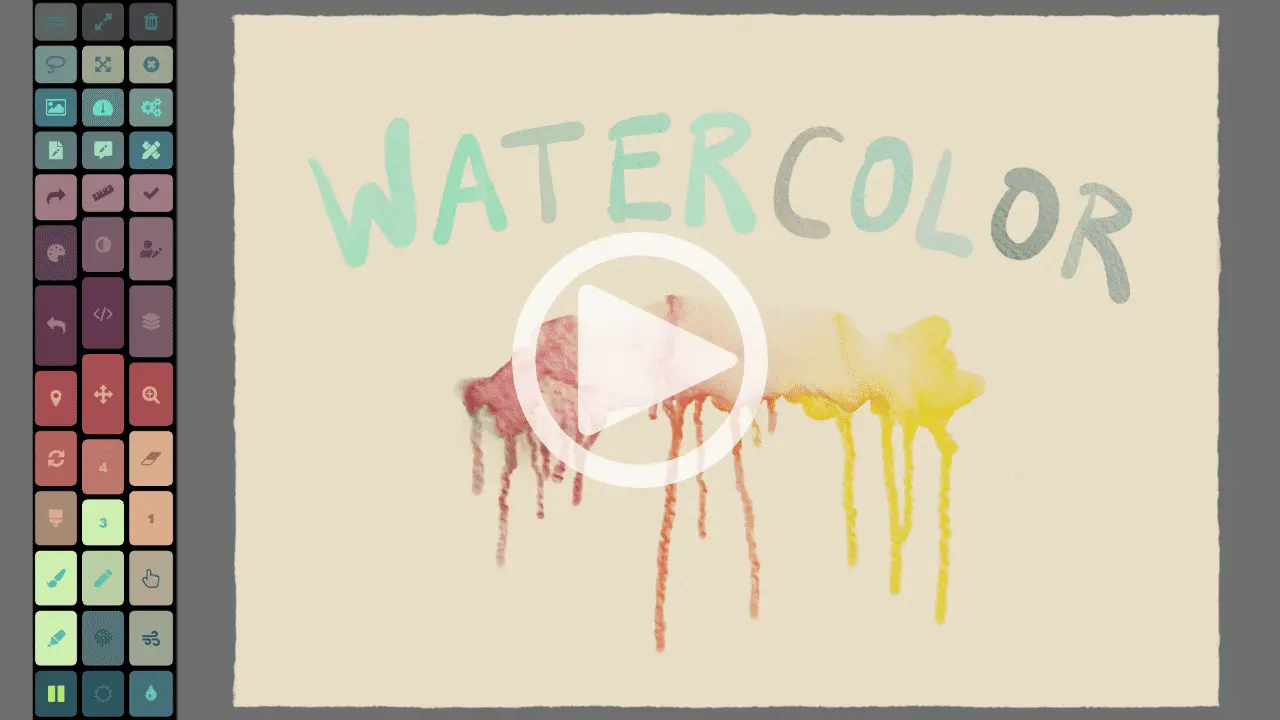
watercolor thumbnail for rebelle drawing application

Watercolors

Let's dive into the world of Rebelle's Watercolors. Justice will explore the brushes, opacity and water settings, transparency modes, and everything you need to know to make a perfect watercolor painting.

filters thumbnail for rebelle drawing application

Filters

The Filter menu offers standard color adjustment settings. Let's take a look at Brightness and Contrast, Hue and Saturation, White or Black to Alpha, and other Color settings.

preferences thumbnail for rebelle drawing application

Preferences

In this video, Justice gives guidance on all settings that can be adjusted in the Preferences window. Learn what are your options when it comes to memory, tablet, tools, colors, and color management to use Rebelle 4 to its fullest.

Blend, Smudge, Clone, Fill, and Erase Tool

This tutorial will teach you how to achieve the perfect effects with the Blend and Smudge tool, how to use the newly added Clone and Fill tool, and how to use Erase tool in Rebelle 4.

Keyboard Shortcuts

Make your work with Rebelle 4 much easier. Watch this tutorial to learn what shortcuts to use, how to change them, or create your own.

Stencils

Watch Justice Frangipane explain how to use and create new stencils in Rebelle 4.

Perspective and Ruler Tool

Are you looking for precision in your paintings? Do you need to draw lines or buildings with Rebelle 4? In this tutorial, Justice will explain how to use the Ruler and Perspective tool to help you with that.

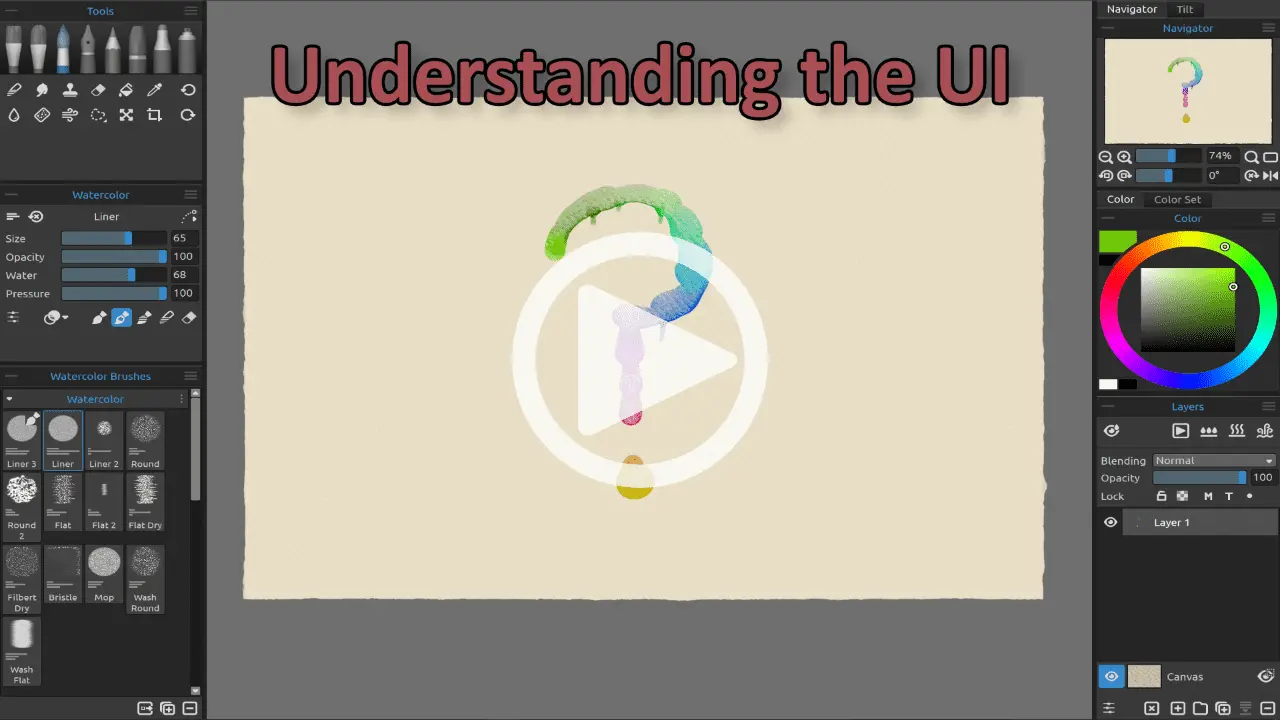
Ui tutorial thumbnail for rebelle drawing application

Understanding the UI

Get familiar with Rebelle 4 user interface and find out how to customize it and make your workspace just as you like.

Navigator Panel

Justice will walk you through the navigator possibilities of Rebelle 4. Learn more about options to zoom and rotate the canvas.

new features thumbnail for rebelle drawing application

New Features

What's new in the latest version of Rebelle? Watch Justice Frangipane walk you through the major changes to this hyper-realistic digital painting software.

rebelle 5 painting drawing software watercolor oils acrylics

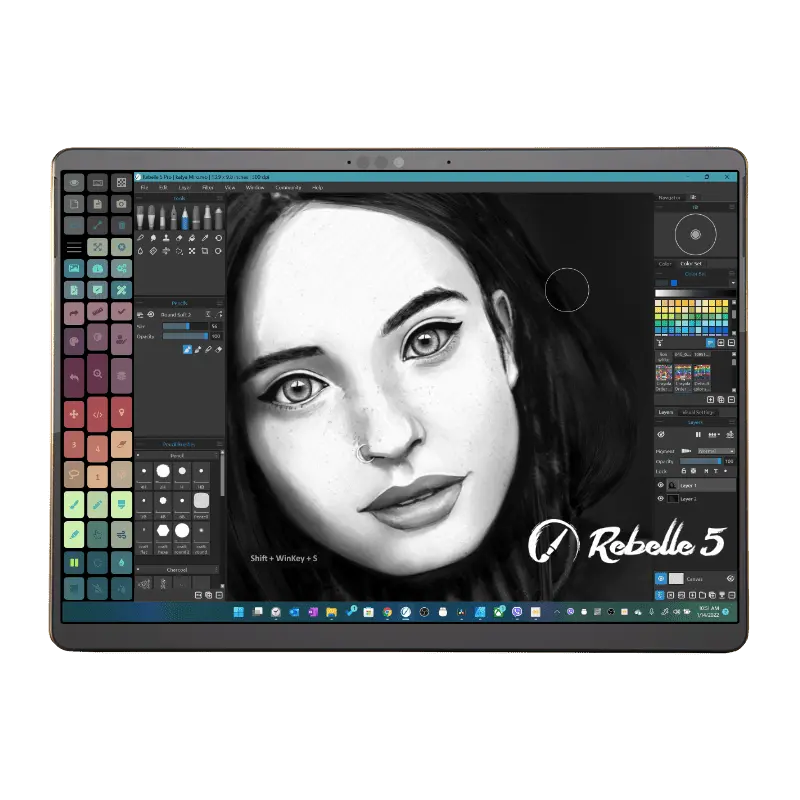
Tablet Pro Artist Pad SPT (simultaneous pen and touch) in Rebelle 5

If you have a stylus and want to get work done then you need the Artist Pad from Tablet Pro. For those who know the joys and pains of a tablet only work flow without a keyboard. Custom keyboard hotkeys are a LIFE SAVER. Professional Artists and avid note takers around the world swear by the usefulness of the sexy and powerful Artist Pad from Tablet Pro. 

Free Trial available

Satisfaction Guaranteed

We guaranty every purchase with an unconditional money back guaranty and 1 year warranty.
justice frangipane tablet pro

Justice Frangipane

Tablet Pro Team